Obsolite components and new projects (Load Cell + HX711)

I have started working on a Uroflow device, which measures the urine flow rate, the duration of bladder emptying, and the total volume of urine voided. I purchased the components quite a long time ago, perhaps ten years ago. Since then, the e-radionica platform has changed significantly.

I cannot find the “How to Use” instructions for the HX711 module and the 2 kg load cell (weight sensor).

Where can I find the missing “How to Use” instructions for these older versions of the components?

Hi @hrvoje_penavin

You can find instructions on our docs page. They feature revamped (new) versions of the device but the code and instructions should be the same . Let us know if you run into any issues.

I should have written the title like this: “Using Obsolete Components in New Projects (Load Cell + HX711)”.
What can I do? Nobody speaks English in my village! :grinning_face_with_smiling_eyes:

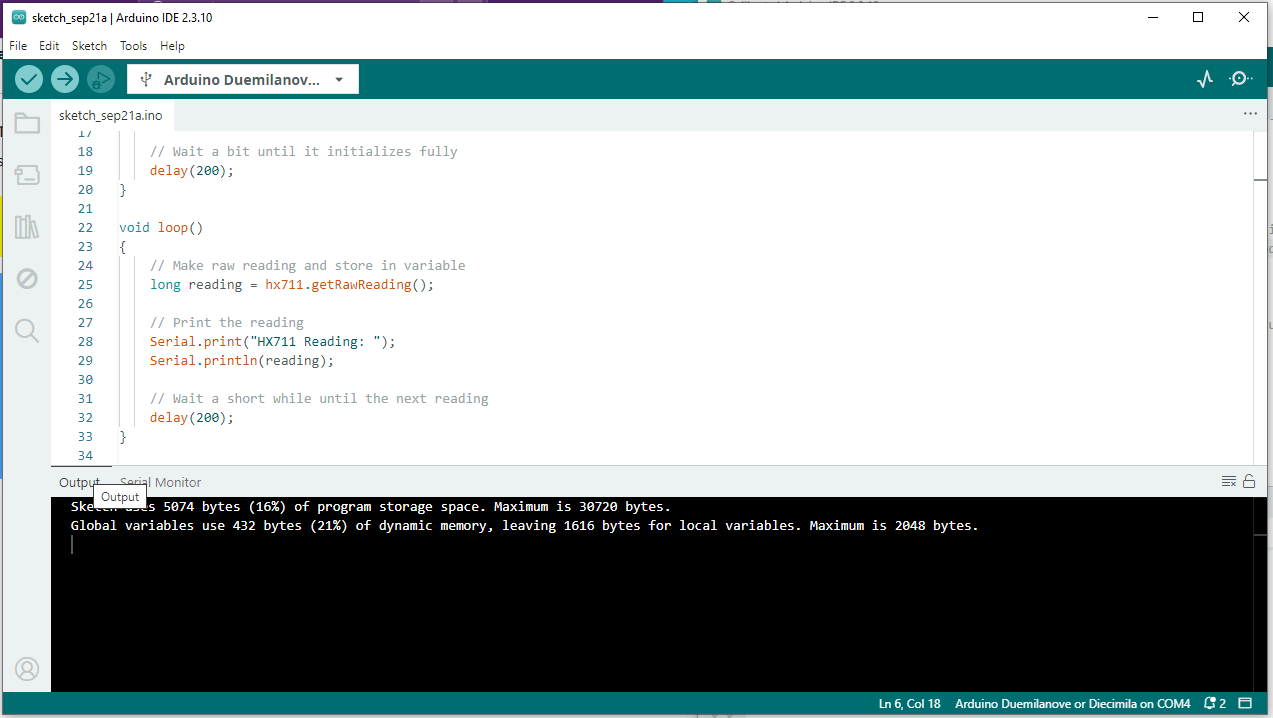
I tried the code from the HX711 – Simple Read example, but nothing appeared in the Serial Monitor. What can be the problem?
A picture is worth a thousand words.

The way the components are connected isn’t very professional, but it works quite well nonetheless.

This sketch works.

If you haven’t you can try the classic, to restart the Arduino IDE. It could be an issue where you have multiple instances and one of them took over the serial port, make sure you only have one window open at a time (Arduino makes a new window for every new sketch usually). Also you can try turning off the serial monitor (the x button next to it) and turning it on again and/or replugging the board.

I have done everything you told me to do:

  • I closed all instances of the Arduino IDE.

  • I disconnected my “plant” from the computer and reconnected it after 10 seconds.

  • I closed the Serial Monitor and opened it again.

It still insists that it isn’t connected (to something).

What else could I try to get it working?

Could you send the sketches you are using so we can test ourselves?

/**

**************************************************

*

* @filefile calibrate.ino@brief

* @brief Example for calibrating the weight signal HX711 load-cell amplifier

*

* To successfully run the sketch:

* -Connect the breakout to your Dasduino board according to the diagrams below

* -Connect the load cell to the breakout

* -Change DAT and SCK pins if needed

* -Don’t put any load on the load cell for the first few seconds so it calibrates!

* -Open the Serial plotter at 115200 baud!

*

* Load-cell amplifier HX711 board: solde.red/333005

* Dasduino Core: www.solde.red/333037

* Dasduino Connect: www.solde.red/333034

* Dasduino ConnectPlus: www.solde.red/3330@authors3

*

* @authors Robert @ soldered.com

***************************************************/

// Include the library

#include “HX711-SOLDERED.h”

// Define pins used for DAT and SCK here

#define PIN_DAT 4

#define PIN_SCK 3

/**

* Connecting diagram:

*

* HX711 load-cell amplifier Dasduino

* VCC------------------------->VCC

* GND------------------------->GND (Make sure to connect both GND’s!)

* DAT------------------------->PIN_DAT, set by user

* SCK------------------------->PIN_SCK, set by user

*

* HX711 load-cell amplifier Load-cell

* (E+)------------------------>RED

* (E-)------------------------>BLACK

* (A-)------------------------>GREEN

* (A+)------------------------>WHITE

*

*/

// Create the HX711 object on the right pins

HX711 hx711(PIN_DAT, PIN_SCK);

void setup()

{

Serial.begin(115200); // For debugging

// Init HX711

hx711.begin();

// Wait a bit until it initializes fully

delay(200);


// While calibrating - don't put any load on the load cell!
// It has to measure the value of the signal without any weight
// This way we know where the 0 is
// 15 measurements are made and their average is considered the 0 (to reduce noise)

hx711.setZero();

}

void loop()

{

// Make raw reading of the calibrated sensor and store in variable
// Note that this is not the same function as getRawReading()
// The applied offset is the calibration

long ofsettedReading = hx711.getOffsettedReading();

// You may also call getOffsettedReading(n) for the result to be an average of n readings
// Print the reading

Serial.print("HX711 Reading: ");
Serial.println(ofsettedReading);

// Wait a bit until the next reading

delay(200);

}

Ovaj sketch radi:
#include “HX711.h”

#define HX711_DOUT 3 // DAT

#define HX711_SCK 2 // SCK

HX711 scale;

void setup()

{

Serial.begin(115200);

scale.begin(HX711_DOUT, HX711_SCK);

Serial.println(“HX711 test”);

Serial.println(“Tariram…”);

delay(1000);

scale.tare();

Serial.println(“Tariranje završeno.”);

Serial.println();

}

void loop()

{

if (scale.is_ready())

{

long raw = scale.read();


Serial.print("RAW = ");

Serial.println(raw);

}

else

{

Serial.println("HX711 nije spreman!");

}

delay(200);

exit(0); // Da mi ne puni ekran ispisom koji ne želim.

}

This seems to be an issue with Arduino IDE itself, both sketches work fine on our side. You could try restarting your computer or reinstalling the Arduino IDE. Also, as a side note you are using two different libraries in the sketches.

Okay, thank you for your help. I’ll do as you suggest.

Does it make a significant difference which library I use? I was wondering whether I could have both libraries installed and use them interchangeably.

I’m using an older Arduino board, so I thought it might be worth trying both libraries to see if one works better with it.

There shouldn’t be too many issues as its the same chip but just pointing it out in case something doesn’t work later.

I restarted the computer and even uninstalled and reinstalled the Arduino IDE, but the problem is still exactly the same.
I’m going to the Arduino website to download the IDE installer. Maybe that will change something.

P.S. That didn’t make any difference either…

Is it only that specific sketch that doesn’t work?

I haven’t tried any other sketch.

Let’s forget about the sketch that doesn’t work and go back to the one that does.

There is a part of the code inside the loop that keeps returning zero, regardless of whether there is a load on the scale or not.

What could be causing this problem?

It could be the library issue i mentioned, can you try using the Soldered specific library for the sensor?

I use this library in the sketch that works:

I think I’m going to keep bugging you about my problem. Have you ever had a customer as persistent as me before? :grinning_face_with_smiling_eyes: